CG Stand Assembly Instructions
The first step in setting up your new model is having the correct center of gravity - be it gliders, electric planes, or any other fixed-wing plane.
Parts and Materials List
Included Parts:

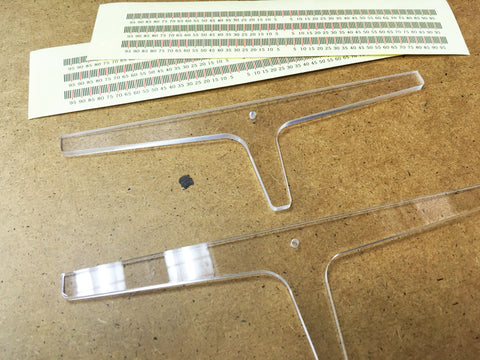
1. Balancing arms (2)
2. Side boards (2)
3. Bottom board
4. Leading-edge guides (2)
5. Vertical reinforcements (2)
6. Leading-edge guide reinforcement
7. Leading-edge guide bottom board
Included hardware:

1. Washer (2)
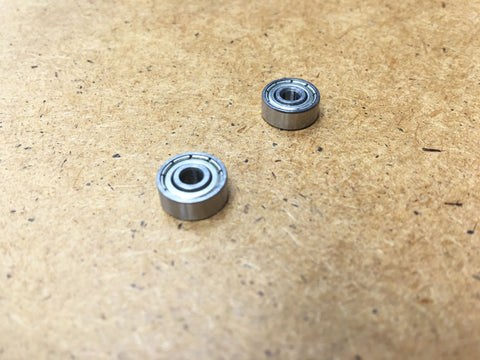
2. Ball bearings (2)
3. Screws (2)
4. Nut (2)
Supplies needed for assembly:
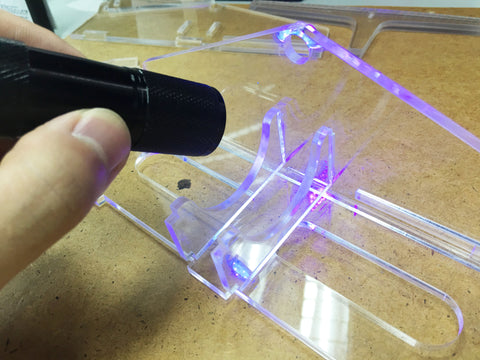
1. UV-activated glue, or
2. Medium CA glue and CA kicker/accelerator
Assembly:
1. Remove the protective film to expose the smooth shiny acrylic panels.

2. Peel a ruler sticker and apply it to one side of the top of the balance arms. Apply to both balance arms. We've included 4 extra pieces, so don't worry if you mis-align the first time.

3. Apply glue to the bottom board and apply it to one of the side boards.

4. Glue the vertical reinforcements to the side board.
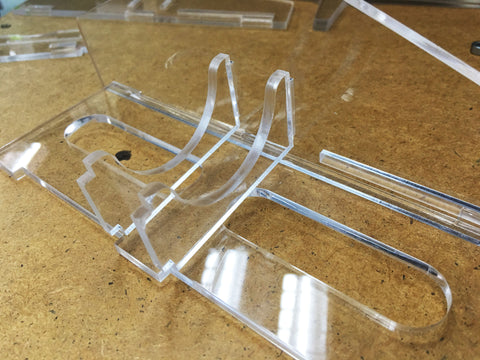
5. Glue the second side board to the current assembly, and the major part is done!


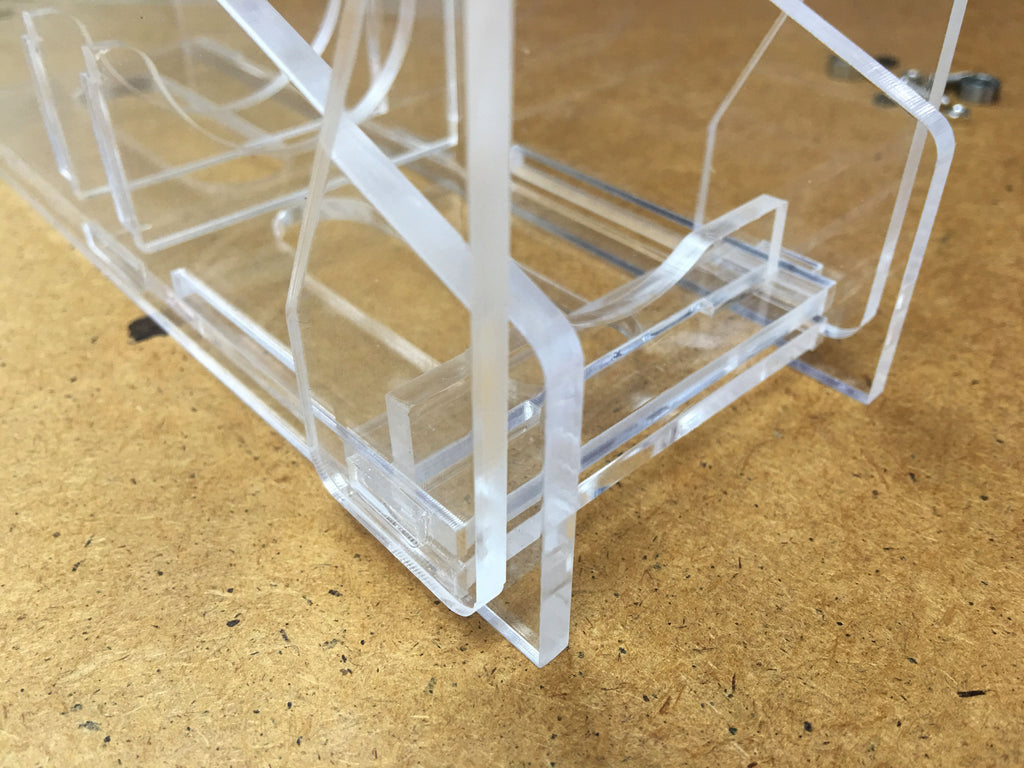
6. Glue one of the leading-edge guides to the leading-edge bottom board.

7. Insert the leading-edge assembly into the slot on the main assembly. Glue the leading-edge center reinforcing to the leading-edge assembly, take care to not get glue onto the main assembly. Glue the second leading-edge guide to the assembly.
8. Clean the outside of the ball bearings with rubbing alcohol. Assemble it to the balance arms: Screw > ball bearing > washer > balance arm > nut.

9. Apply glue sparingly around the outside of the bearing, and glue it into the side board. Take care that it is aligned well before allowing it to cure.

10. And we're done! Thank you for the purchase and you're going to find the stand useful in all your projects!
